How to Make a YouTube Tutorial with Screen Recording
YouTube judges your tutorial on click-through and retention, not on how correct it is. Here's how the recording workflow should serve both.
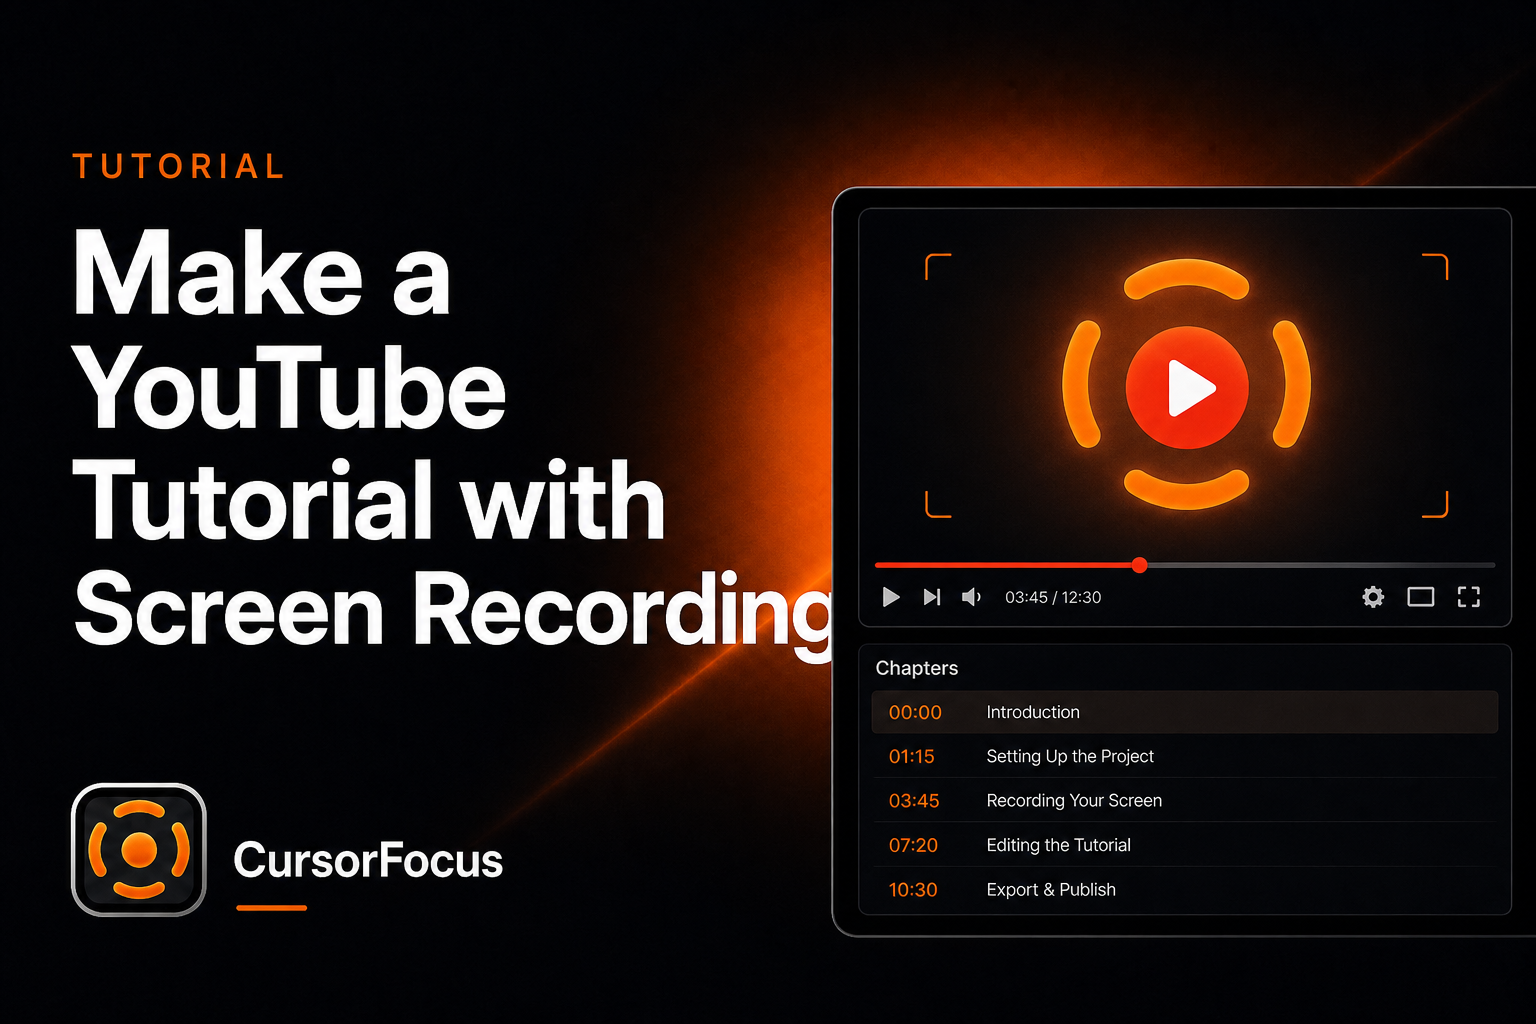
A technically flawless tutorial with a blurry thumbnail and a slow open gets no traffic. That isn't unfair — it's just what YouTube measures: did people click, and did they stay. Everything below is about making a screen recording that survives both tests.
Decide the search phrase before you record
Title the video before you make it. If you can't write a title someone would type into a search box, the topic isn't specific enough yet.
- Weak: "Working with the API"
- Strong: "Send Your First Stripe Webhook in 5 Minutes"
Specificity does two jobs: it wins a narrow query where you can actually rank, and it forces the video to have one outcome. Put the exact phrase in the title, in the first line of the description, and say it out loud in the first 15 seconds.
Earn the first 8 seconds
Assume the viewer's thumb is hovering. Two things in the open, nothing else:
- The finished result on screen. Not your logo, not "hey guys welcome back."
- One sentence naming the problem in the viewer's words.
Skip the intro animation. Skip the channel-subscribe pitch at the front — it costs you retention exactly where retention is most expensive. If you want a branded moment, put a 1.5-second sting after the hook, once people have decided to stay.
Save your worst take of the first 8 seconds for last: re-record the open after the body is done, when you know exactly what you're promising.
Record so it's readable at 40% size
A big share of YouTube watch time is phones and small windows. That reframes your recording settings:
- Record 1080p, upload 1080p or 4K. YouTube gives 4K uploads a higher bitrate allocation, so a 4K file often looks better even when watched at 1080p. But a sharp 1080p beats an upscaled fake 4K every time.
- 30 fps for talking-through tutorials, 60 fps only if you're showing animation, scrolling, or games. 60 fps doubles your file size for content that mostly sits still.
- Zoom in on every meaningful click. On a phone, an unzoomed 1440p desktop capture is unreadable. This is the single biggest retention factor in screen tutorials.
- Increase your app's font size before recording, not in post.
Bitrate targets change with resolution and frame rate; run your numbers through the free video bitrate calculator rather than guessing, and check output dimensions with the screen resolution calculator.
Doing zoom by hand across a 12-minute tutorial is dozens of keyframes. CursorFocus applies zoom automatically at each click and smooths the cursor path, exports local MP4 up to 4K, and includes camera layouts if you want a corner facecam. It's a Mac app (macOS 14+, Apple Silicon) — for live streaming to YouTube instead, use OBS.
Structure for chapters, because chapters get watched
Write your chapter list before recording, then record each chapter as a separate file. Two payoffs: re-recording a mistake costs one section instead of the whole video, and your timestamps write themselves.
Paste timestamps into the description starting at 0:00 and YouTube turns them into chapters:
0:00 What we're building
0:38 Install and setup
2:10 Send the first request
5:24 Handling the error you'll hit
7:02 Result and next steps
Name chapters like search queries, not like an outline. "Handling the 403 error" pulls traffic; "Part 3" pulls nothing.
One more thing chapters buy you: viewers who skip forward to their exact problem stay on the video instead of bouncing to someone else's.
Make the thumbnail carry the click
Your thumbnail competes at roughly the size of a postage stamp:
- Three to five words maximum, at a size you can read on a phone.
- One high-contrast focal point. A cropped, zoomed piece of the actual UI beats a full-screen screenshot, which becomes mush at small sizes.
- Show the outcome, or the error you're solving. Faces help on personality channels and matter less for pure technical content.
- Keep a consistent color and type treatment across your channel so returning viewers recognize you instantly.
Build one quickly with the free video thumbnail generator — it pulls a frame from your recording and lets you add a headline. For a UI screenshot that needs framing, shadow, and background, use the screenshot beautifier.
Captions and metadata are the searchable part
YouTube auto-captions are decent at English and terrible at product names, CLI flags, and library names — which are exactly the words people search for.
- Upload a corrected caption file instead of relying on auto-generation. Start with the free subtitle generator and fix technical terms manually.
- Write the description for a person first: what the video does, then chapters, then links. The first two lines are what shows in search results.
- Tags are a small signal, but they're free. Generate a starting set with the YouTube tag generator and prune anything irrelevant.
Before you upload
| Check | Target |
|---|---|
| Hook length | Result on screen within 8 seconds |
| Readability | Text legible when the window is 40% width |
| Audio peaks | Around −12 dB, no clipping |
| Chapters | Starts at 0:00, query-shaped names |
| Captions | Uploaded and hand-corrected |
| Thumbnail | Readable at thumbnail size, ≤5 words |
| Export | MP4 H.264, 1080p or 4K, bitrate checked |
Related reading
For the recording craft itself — pacing, scripting the joints, chapter length — read how to record a tutorial video on Mac. For the tool-by-tool landscape, see the best screen recorders for Mac in 2026 and CursorFocus for YouTube creators.
Record polished videos on your Mac
CursorFocus adds automatic zoom, cursor smoothing, and 4K export to every recording. One-time $79, no subscription.
Get CursorFocus See all features