How to Record a Tutorial Video on Mac
A tutorial is not a product demo. Different structure, different pacing, and a recording method built for re-doing one section instead of the whole take.
A demo has to make someone want the thing. A tutorial has to get someone to the end of a task without them opening a second tab to figure out what you meant. Those are different videos, and the difference shows up before you press Record.
The change that mattered most in my own recordings: stop trying to nail a single continuous take. Record in short chapters and re-record only the one that went wrong.
Write the destination, then the steps in reverse
Start at the end. Finish this sentence: "When this video ends, the viewer will have ___."
Not "will understand" — will have. A deployed site. A working webhook. A formatted spreadsheet. Then list the steps backwards from there and drop anything that isn't required to get to that result. In practice this removes about a third of what you were going to say, usually the "while we're here, notice this other feature" detours.
Structure that consistently works:
- The result, in the first 15 seconds. Show the finished thing before you build it. This is the contract.
- The setup, kept brutally short. Prerequisites in one sentence, not two minutes of installing.
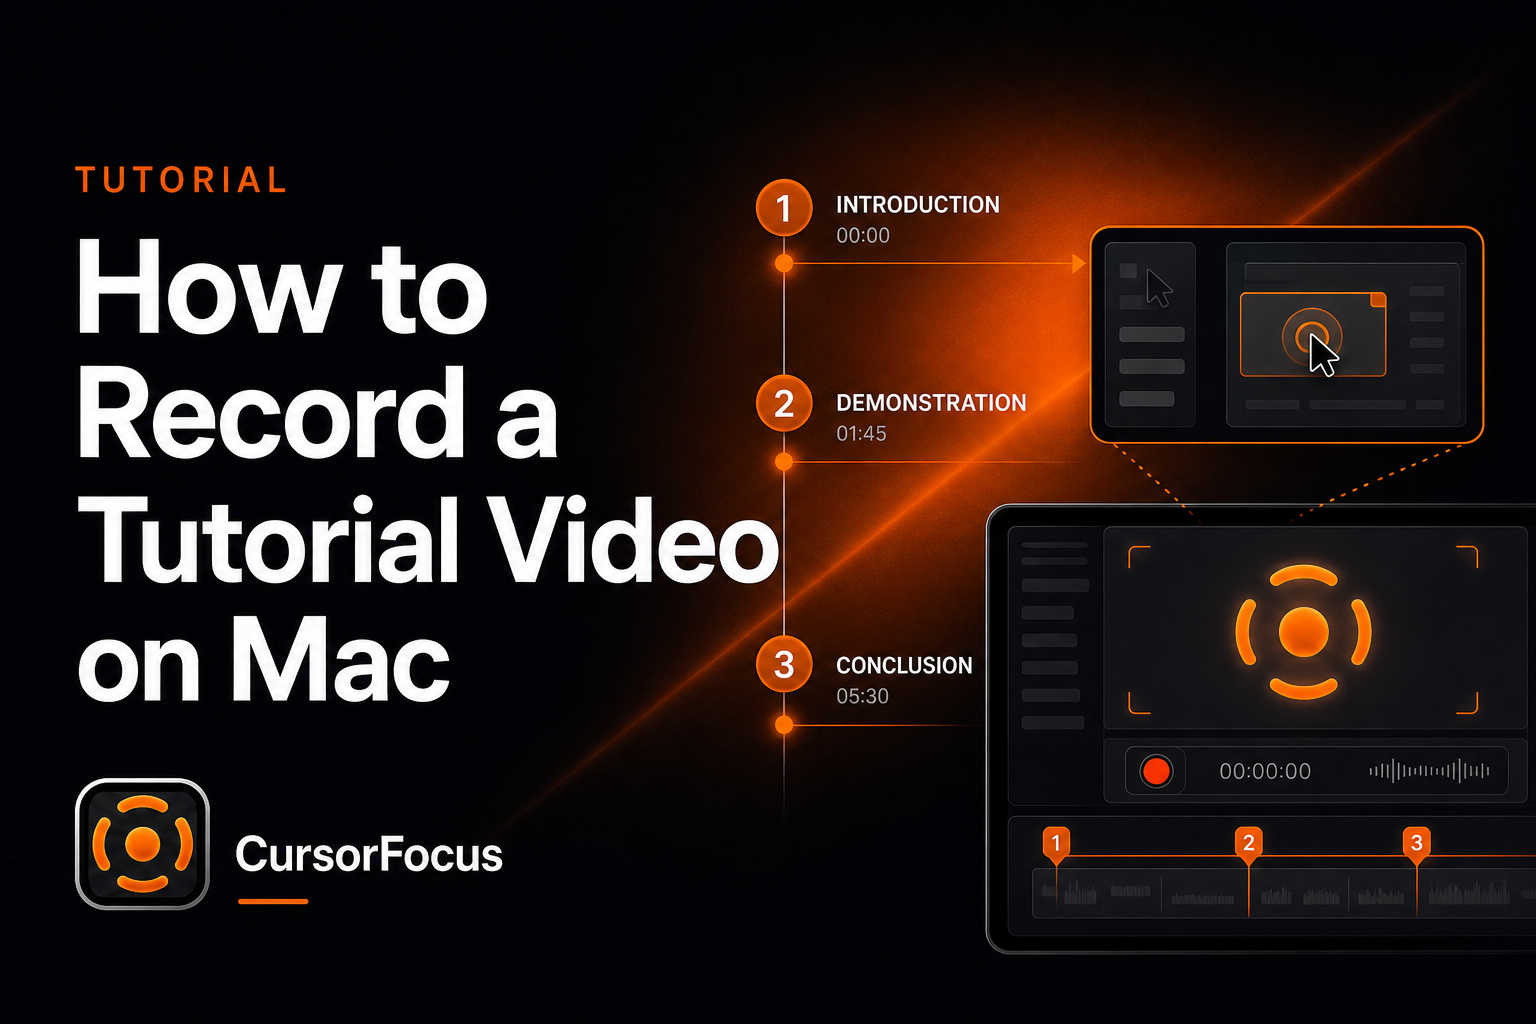
- Steps as separate chapters, one goal each.
- The result again, plus the one place people get stuck.
Don't script the whole thing — script the joints
A fully written script read aloud sounds like a fully written script read aloud. Flat, oddly paced, and the listener hears the paragraph structure. But talking with no plan produces "so basically, um, what we're gonna do here…" and forty seconds of nothing.
What works in between: write the first sentence and the last sentence of each chapter verbatim, plus three bullets for the middle. Openers get you moving cleanly, closers stop you rambling into the next section, and the middle stays conversational because you're describing what your hands are doing.
Read the openers out loud once before recording. Anything that feels awkward in your mouth will sound worse in the file.
Record audio like it's the main product
People forgive a slightly ugly screen. They quit over hollow, echoing, noisy audio in the first thirty seconds.
- Any USB or headset mic beats the built-in one. Distance matters more than price: about a hand's width, slightly off to the side to avoid plosives.
- Turn on Voice Isolation for the mic input in Control Center.
- Get peaks around −12 dB, not touching the top. Verify with the free microphone test before you commit to a take.
- Record a silent 5 seconds at the start of your session. It gives an editor a noise profile to work with later.
Full detail on rooms, reflections, and cleanup order: how to reduce background noise in screen recordings.
Stage the screen for a small window
Your viewer is not watching full-screen on a 16-inch display. They're watching in a course player, at maybe 60% width, often on a phone, frequently with your video on one side and their own editor on the other.
So:
- Hide the dock and menu bar clutter, close unrelated tabs, and turn on Do Not Disturb. A notification means re-recording the chapter.
- Bump the app's own font size or zoom the browser to around 110–125% before you start. This single step does more for readability than any post-production trick.
- Use realistic sample data. "asdf" and "Test project 3" quietly tell viewers the tool isn't real.
- Decide region vs full screen. If everything happens inside one window, capture just that window.
Zoom on decisions, not on everything
Zooming is how you say "look here." Overusing it makes the video seasick, so pick the moments:
- Zoom in for a specific click target, a setting toggle, a value being typed, an error message.
- Stay wide for navigation, drag-and-drop across the screen, and any moment where the viewer needs spatial context.
- Never zoom during your own mouse hunt for a menu item.
Doing this by hand means keyframing every zoom in a timeline, which for a 12-lesson course is where most people give up and ship flat video instead. CursorFocus detects clicks and applies the zoom automatically, then lets you adjust or remove individual ones. It also smooths the cursor path, which fixes the other tutorial problem: viewers can't follow a jittery pointer.
Pace slower than feels natural
Recording alone makes you rush, because you already know the answer. Two habits fix it:
- Pause a full beat after each click, before you say what happened. That gap is where the viewer's eyes catch up.
- Say what you're about to do before you do it, not after. "I'll open Settings, then Integrations" — then move. Reversed, viewers see a cursor fly across the screen and then get told why.
Also: talk while your hands are idle, not while you're typing. Split those actions and the whole thing sounds less breathless.
Chapter, don't marathon
Keep each chapter to 2–4 minutes and record them as separate files. The benefits compound:
- One botched sentence means re-recording 3 minutes, not 25.
- You can reorder chapters after watching them once.
- Course platforms and YouTube both reward clear chapter boundaries.
- Fixing a step six months from now means replacing one file.
Name files by chapter number and topic so future-you can find the one that needs updating.
Finish it properly
Export a local MP4 (H.264) at 1080p unless your platform specifically wants 4K. Then:
- Add captions. Around 40% of viewers watch with sound off some of the time, and search engines read your caption text. Generate a starting file with the free subtitle generator and correct the technical terms by hand — automatic transcription is reliably wrong about product names.
- Trim the head and tail dead air with the free video trimmer if your recorder didn't already.
- Pull one short loop out as a GIF for the docs page that links to the video, using MP4 to GIF.
Where to go next
If you're building a series, the workflow scales differently than a one-off: see screen recording tips for online course creators for pacing and house style across lessons, video tutorials for a use-case walkthrough, and CursorFocus for teachers if you're recording lessons for a class rather than a customer.
Publishing to YouTube instead of a course platform changes the front end of the video substantially — the first 8 seconds, the thumbnail, and the chapters carry the click. That's covered in how to make a YouTube tutorial with screen recording.
Record polished videos on your Mac
CursorFocus adds automatic zoom, cursor smoothing, and 4K export to every recording. One-time $79, no subscription.
Get CursorFocus See all features